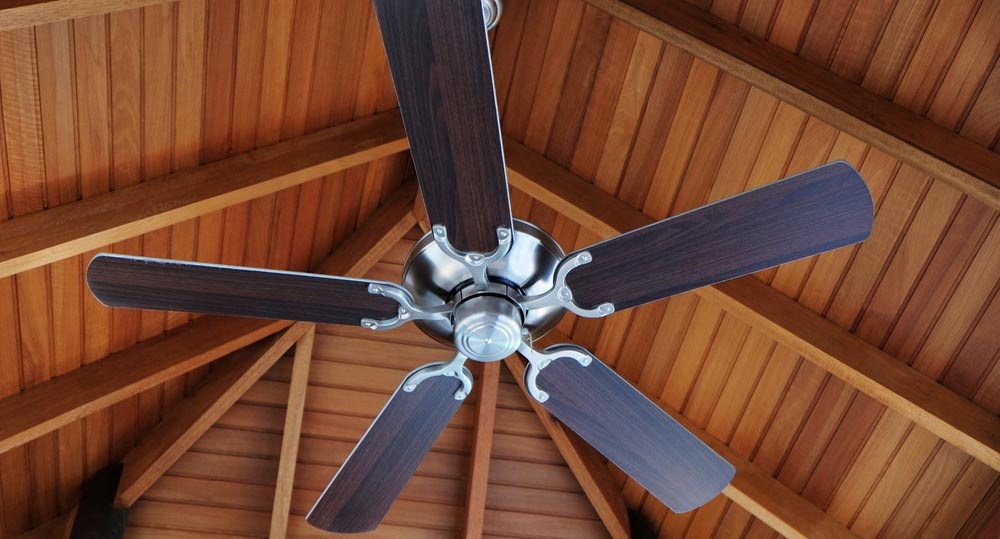
Whether you want to add tropical flair to the lanai, or a little extra breeze in your living room, ceiling fans are the aesthetic and practical answer. If you’re ready to install a new ceiling fan (and you have an hour to spare), use our step by step instructions below:
What you’ll need:
- Safety Ladder
- Screw Driver
- Wire Cutter
- Circuit Tester
- Pliers
- Metal Junction Box
Step One: turn-off electric and inspect junction box
Before you begin, find your circuit breaker box and turn-off the electrical power in the room. Use a circuit tester on the ceiling wires to verify the power is off. Once the power is off, inspect the junction box to make sure it can support a ceiling fan. If not, install a metal box that can support the fan’s weight.
Step Two: mount the junction box
Insert the fan brace through the hole in the ceiling. Once you’ve centered the square tube with the hole, rotate the square tube until the teeth are firmly locked on the joist. Test the stability with your hand. Attach the U-Bolt bracket to the center of the fan brace with the bolts pointing down. Thread the wire into the junction box, slip the box on so the bolts slide through, and tighten the nuts until the box is securely in place.
Step Three: mount the fan bracket
Weave the main wires through the center of the mounting bracket.
For a slide-on bracket: leave the mounting bolts on the junction box and slide the bracket over the mounting bolts.
For a normal bracket: place the bracket over the mounting bolts and secure it with the nuts provided.
Step Four: mount the fan
Get the canopy, downrod, and fan-base from the box. Slide the canopy onto the downrod and run the main wires from the fan-base through the downrod. Use the clevis and cotter pin to firmly secure the downrod too the fan-base. At the top of the downrod is a circular fitting. Attach that fitting to the mounting bracket you just installed on the ceiling. Be sure not to damage the wires
Step Five: connect the wires
Note: use caution!
Following the specific directions in the fan’s instruction manual, connect the fan wires to your home’s wiring. Secure the wire connections with your wire nuts. Once the wires are connected, carefully push all the wiring into the junction box. If the wires do not fit in the box, use the wire cutters to trim the inactive excess wire. Attach and tighten the canopy to the mounting bracket with the screws.
Step Six: install the blades and light fixture
Ceiling fans either have quick-install, accu-arm, or traditional blades. Use the owner’s manual to determine which blade you have and follow the appropriate instructions. Always install the side you want to show facing downward, and be careful not to bend the blades. Install the light fixture included with your kit… and don’t forget the light bulb! Restore power to the room and test your new fan.
Still having trouble matching the right wires? Maybe it’s best to trust the electrical work to the experts. Give Southwest Florida Electric a call, and we’ll give you back your Saturday.


