
That annoying chirping sound that always seems to start at the worst possible time is your fire alarm’s way of saying, “My batteries are getting low! Replace them.” But unfortunately, the darn thing won’t stop beeping until you swap those dying batteries out for fully charged ones.
Sometimes, homeowners take the dying batteries out, thinking that’ll stop the low-battery noise— and, oftentimes, that does indeed do the trick. But then they forget to replace the batteries later!
One third of fire deaths were in homes that did not have smoke detectors, according to The U.S. Fire Administration (USFA). The risk of dying in a home fire is cut in half where smoke detectors are properly installed and maintained.
Keep your loved ones safe by learning how to replace your fire alarm’s battery and test that its fully functional afterwards:
Battery-Operated vs. Hardwired Smoke Detectors
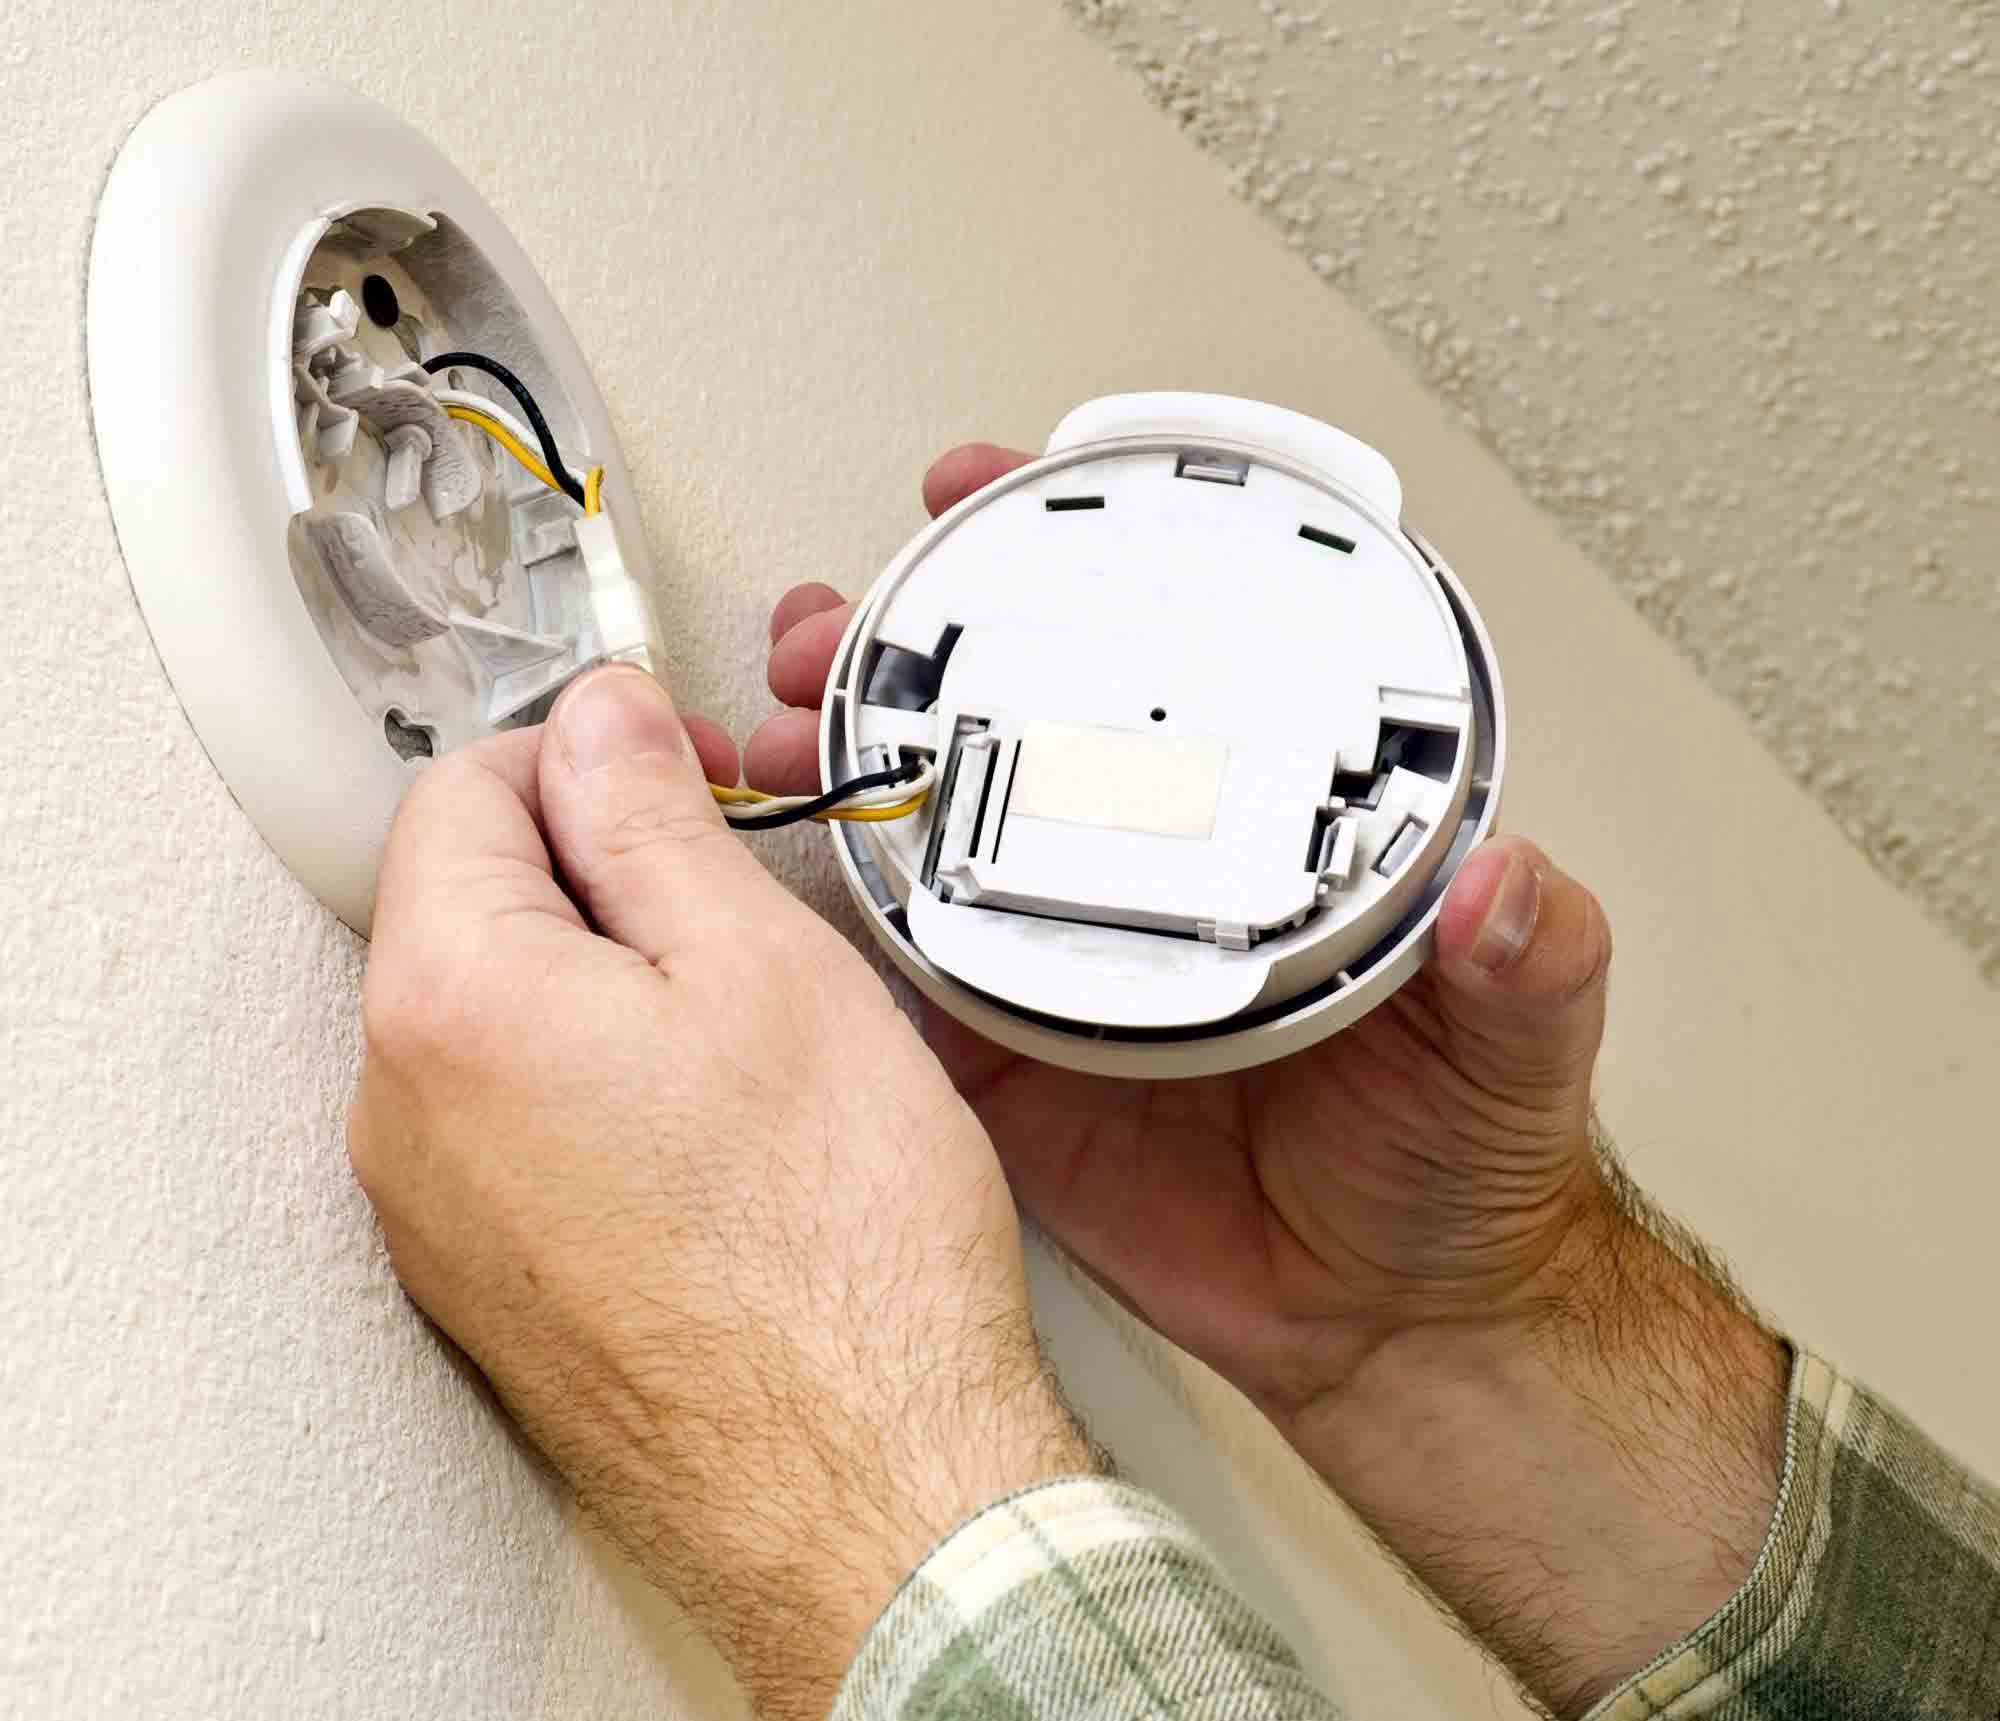
Before you begin, it’s important to understand that there are two types of smoke detectors: battery-operated and hardwired alarms.
As you may have guessed, battery-operated detectors run on batteries alone. Hardwired alarms, on the other hand, use electricity. But here’s the catch: hardwired smoke detectors also have a backup battery for power outages. These backup batteries get low just like any battery, and will chirp all-the-same when needing to be replaced.
With this in mind, all smoke detectors have batteries! Don’t be confused when your hardwired detector starts chirping.
How to Replace the Batteries on a Smoke Detector
Here are a few quick steps to properly replacing your smoke detector’s batteries:
- Turn off power to the circuit that your smoke detector is on (if you have a hardwired detector). Safety first! Whenever tinkering with electronics, it’s best to cut all electricity to the source.
- Remove your detector’s plastic covering/face. Some detectors simply twist open, others pop off, while others still require a screwdriver to remove hardware. Google search your specific detector brand and model to find its user’s manual if you aren’t sure how to open it.
- Remove the old battery. Once opened, you’ll notice all the alarm’s internal parts, from its sensing chamber and horn. All you’ll need to worry about is the battery. For most detectors, this is a large, rectangular 9-volt battery and pretty hard to miss. Pop that dying guy out and set aside to properly dispose of.
- Add the juiced-up battery. Ensure the male and female (+ and -) terminals are properly aligned and that it’s pushed snuggly into its chamber.
- Lock the cover back into place. Easy enough, right? Don’t forget to turn your breaker back on if you flicked it off.
And there you have it. New battery in— in just a few short minutes.
How Often Should the Batteries in a Fire Alarm Be Replaced?
Your smoke detector manufacturer’s guide should outline a timeline for when batteries will need to be replaced. But while every manufacturer is free to make their own recommendations, the safest course of action is to replace all the batteries in all of your smoke detectors annually or biannually, according to The National Fire Protection Association.
While this can be hard to remember to do, consider replacing the smoke detector batteries on New Year’s Day every year or scheduling a “repeat yearly” calendar alert on your phone. If you’d rather replace the batteries twice a year to be extra sure of your home and family’s safety, replace the smoke detector batteries on Daylight Saving Time days in the fall and spring.
If you forget one year, don’t beat yourself up. Most 9-volt batteries are rated for last for a few years— but it’s best to be safe!
Pro Tip: Keeping batteries for your fire alarm on hand allows you to replace the battery immediately, without having to listen to the annoying chirping for days on end until you can order them online or get to the store.
How to Test a Smoke Detector After Battery Replacement
Once your battery is replaced, you still have one last important step: testing that the new battery actually works. The good news is, this is usually super easy!
After putting the detector cover/face back on, simply press the “test” button. If you’re having trouble finding it, check your manufacturer’s manual for its location.
If after pressing the test button you hear nothing, that means there’s a problem with the battery or your detector itself. Try a completely different battery and hit “test” again. If it’s still not making an alarm noise, it might be time to replace the entire smoke detector unit itself. Most fire alarm units have a life-expectancy of about 10 years. Do you know the last time you had yours replaced?
To turn off the shrill alarm, simply press “test” again. Now you can rest easy knowing your detector is fully functional and you don’t have to put up with that dreadful low-battery chirping sound!
How Often Should a Fire Alarm Battery Be Tested?
It’s just as important to routinely test that your smoke detector battery is in tip-top shape as it is to check it after a battery replacement.
You should test all the smoke detectors in your home once a month, according to The USFA. Just like our advice for replacing your battery, make a plan to test the smoke detector on a day you will remember to do so. Consider making the first of the month your big day, or when you pay your mortgage, or every month when you give your dog their heartworm medication. Set reminders on your phone and write it down the monthly smoke detector test on your calendar.
What Other DIY Electrical Projects Can You Tackle?
Now that you’ve replaced your dying smoke detector battery, have you considered what other electrical projects you can do yourself?
In our free Electric Toolkit, we’ll share how to test your outlets, your lightbulbs, and more! Download it today.
If it’s time for a full smoke detector unit replacement, we’re happy to help with that. Submit a form on our Home Electrical Services page, or give us a call at 239-307-0716.