6 Signs of Faulty Electrical Wiring

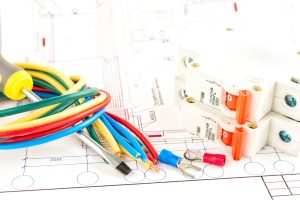
Whether you are moving into a different home and want to give your old electrical wiring a good once-over, it’s always wise to routinely inspect your house for poor wiring. Natural wear and tear can lead to your electrical wires’ deterioration or poor workmanship in the past could lead to problems today, putting you and your family at risk.

Faulty electric wiring can cause short circuits, damage to your expensive appliances, and even an electrical fire. Depending on the damage, bad wiring could even be causing your devices to overheat, work harder, and use more electricity — AKA, raise your electric bill.

A symptom of bad wiring isn’t just a flipped breaker, though that’s often the most common indication of faulty wires … Here are a few other signs your home’s electrical wiring may need to be inspected by a licensed electrician and repaired or replaced:

1. Frequent Short Circuits

Do you find yourself turning on an appliance and that room of your house loses electricity? Short circuits are often caused by overloads of electricity, wherein your electrical panel cannot safely handle the voltage you are asking it to feed through a single breaker and it automatically cuts the current to protect you against electrical fire. While there are many reasons you could be tripping a breaker, it can be a sign of poor wiring. 

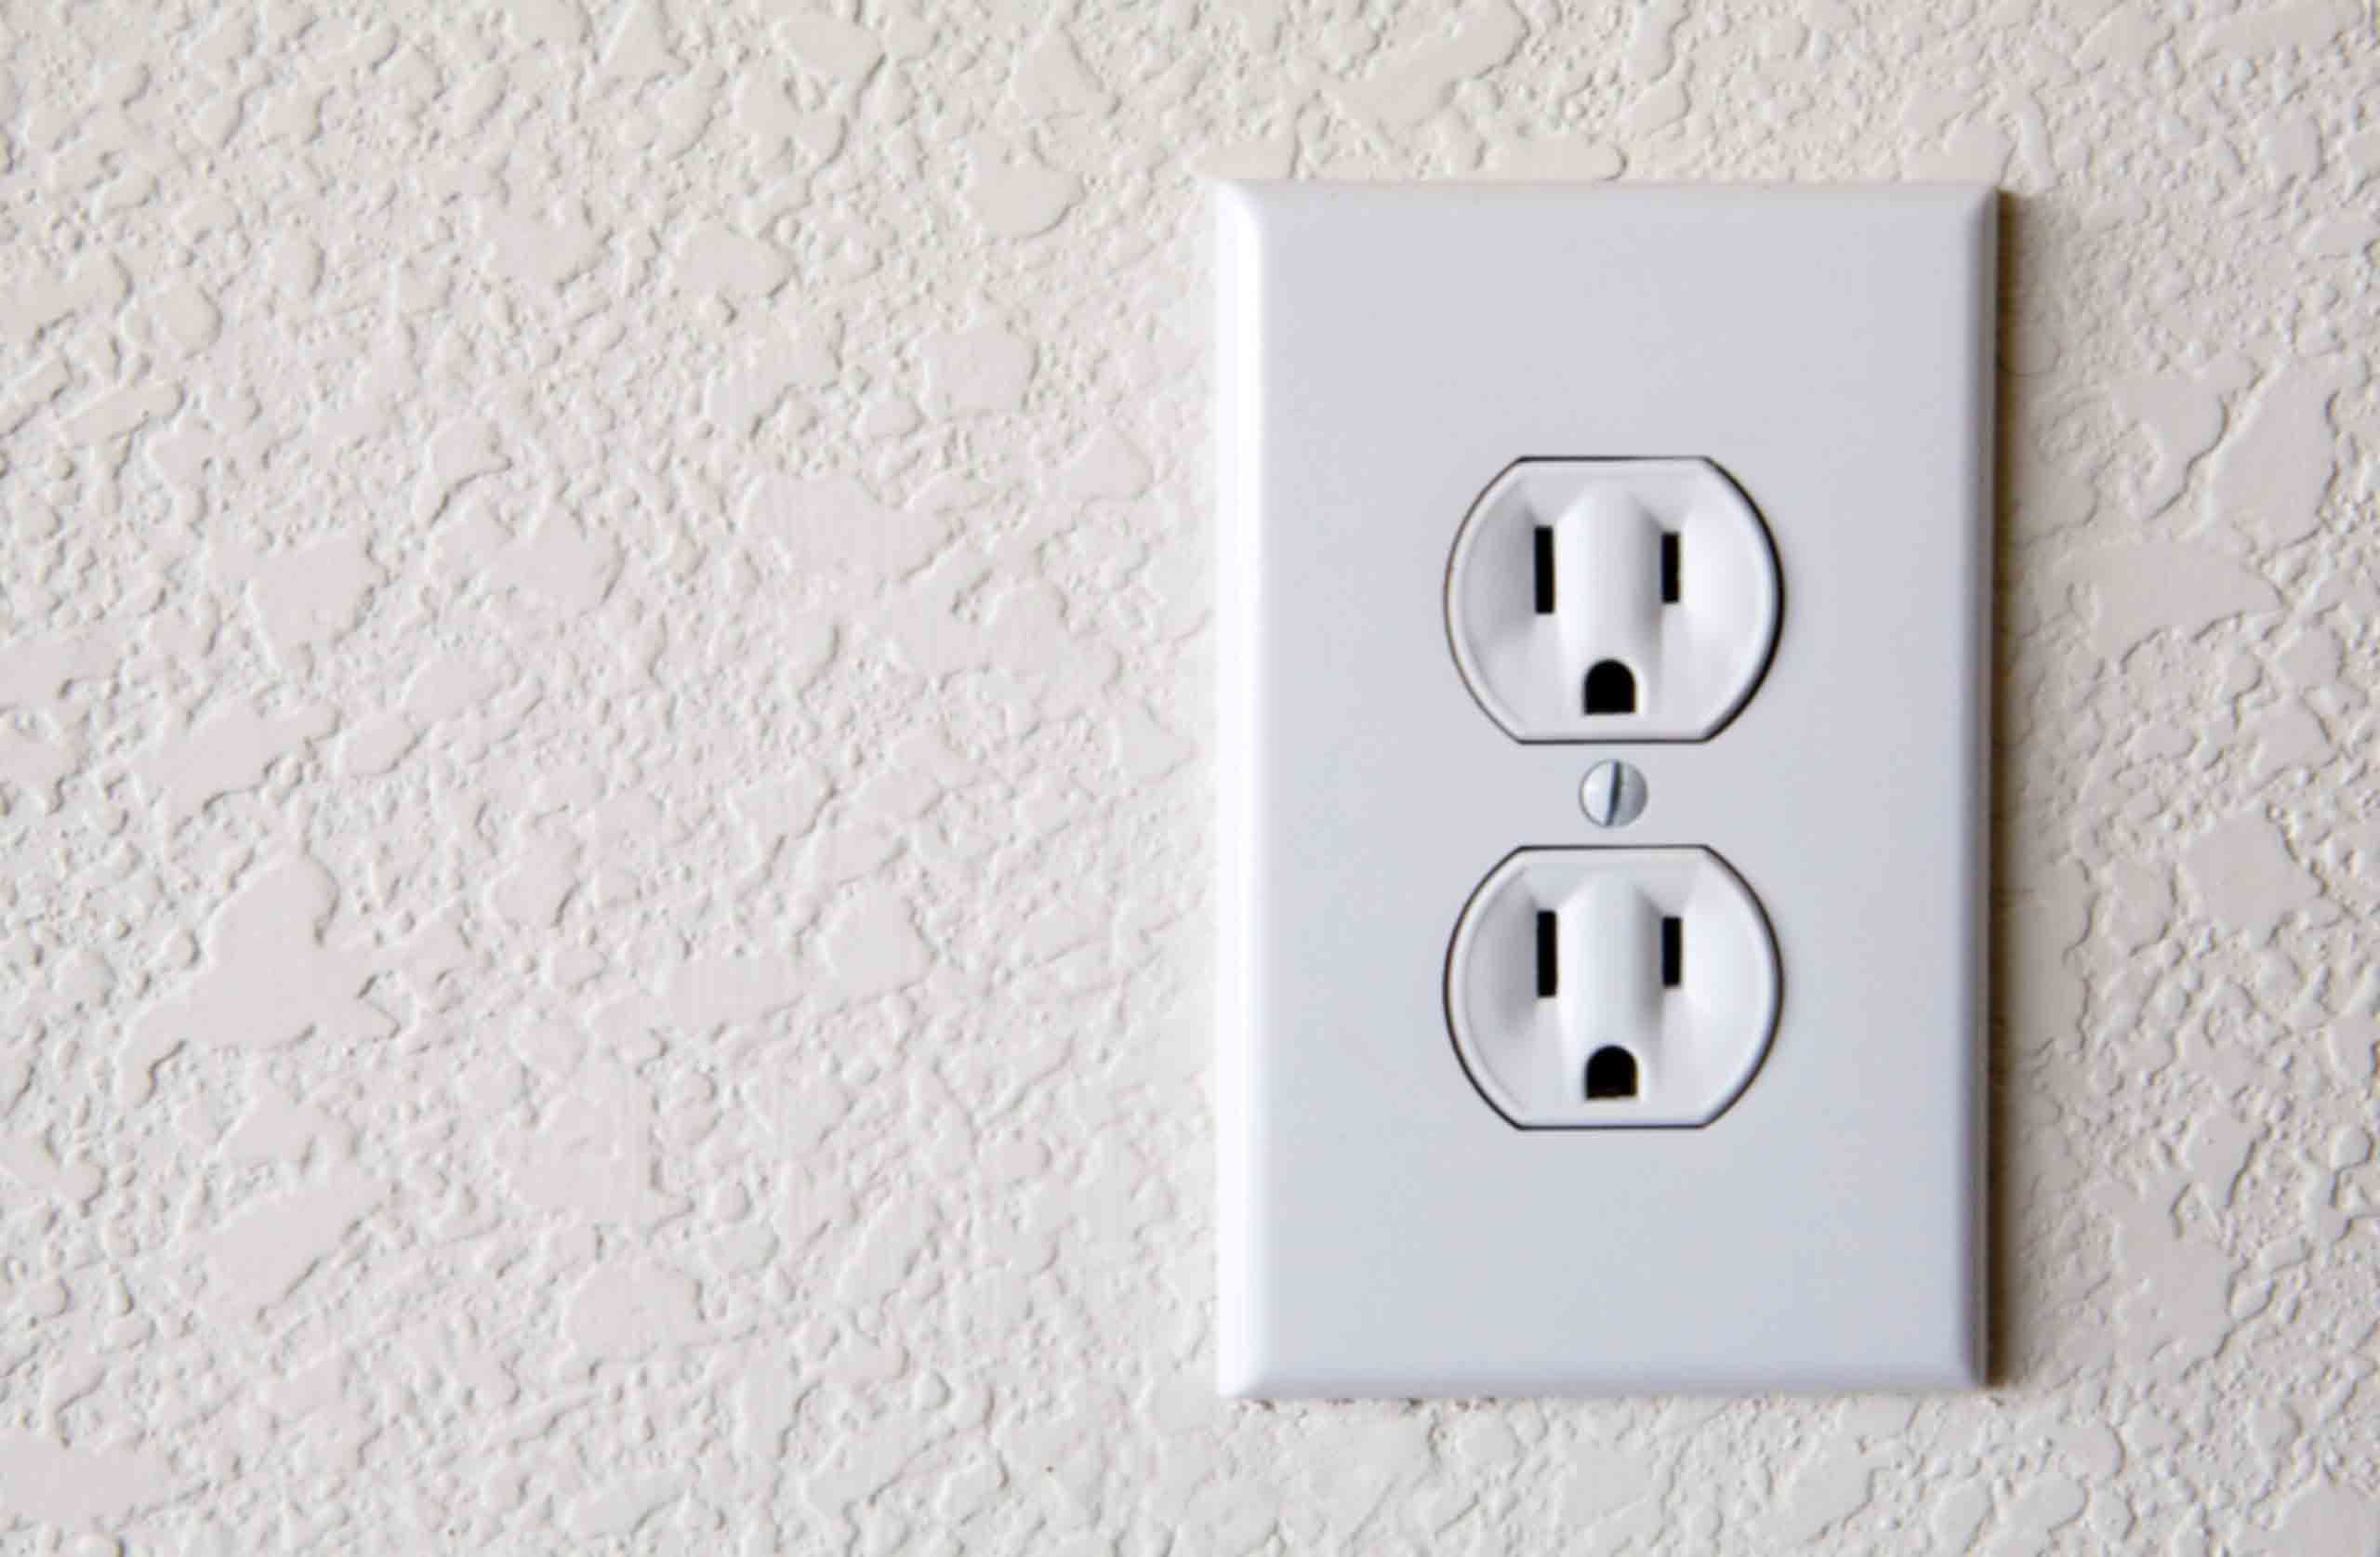
2. Hot or Discolored Outlets

Electrical outlets should never be hot to the touch or appear discolored. If you notice these symptoms, it could be the beginning of a serious problem. It means that your appliances or the wire behind the outlet face are generating excessive heat. If you see any blackened or discolored markings around the outlet facing or it feels warm against your fingers or hovering your hand around it, it’s time to call an electrician. You can also inspect your electrical appliances for discoloration on the cords or plugs.

Not sure how to check your electrical outlets for faulty wiring? Download our e-book, The Homeowner’s Easy Electrical Toolkit, for step-by-step instructions on how to investigate — and how to know if it’s a job for a professional electrician.

3. Dimming Lights

Lights that dim or flicker when other appliances are switched on can indicate an overloaded circuit or faulty wiring. While it might feel like a fun trick, especially around Halloween, it’s important to get this checked out ASAP. It may not always be an indicator of poor electrical wiring — it could be time for an electrical panel upgrade or even a ballast replacement — but it’s wise to get a professional to be certain. 

4. Popping Sounds or Tingling Plug-ins

An outlet that makes an audible “pop” or gives you a pins-and-needles feeling when you plug something in is not a safe outlet. It likely means it’s time to replace the outlet or that there is a problem with your electrical wiring. Call your electrician to get to the bottom of it.

5. Melting Plastic Smell or Smoke

Ever smell a “hot” smell or a melting plastic smell when you flip a switch or plug something in? This is a sure sign of a serious electrical problem, get this checked out ASAP. That means something is burning — like the plastic of your outlet facing or even the protective layer around a frayed write. You don’t want that to turn into an electrical fire; trust us!
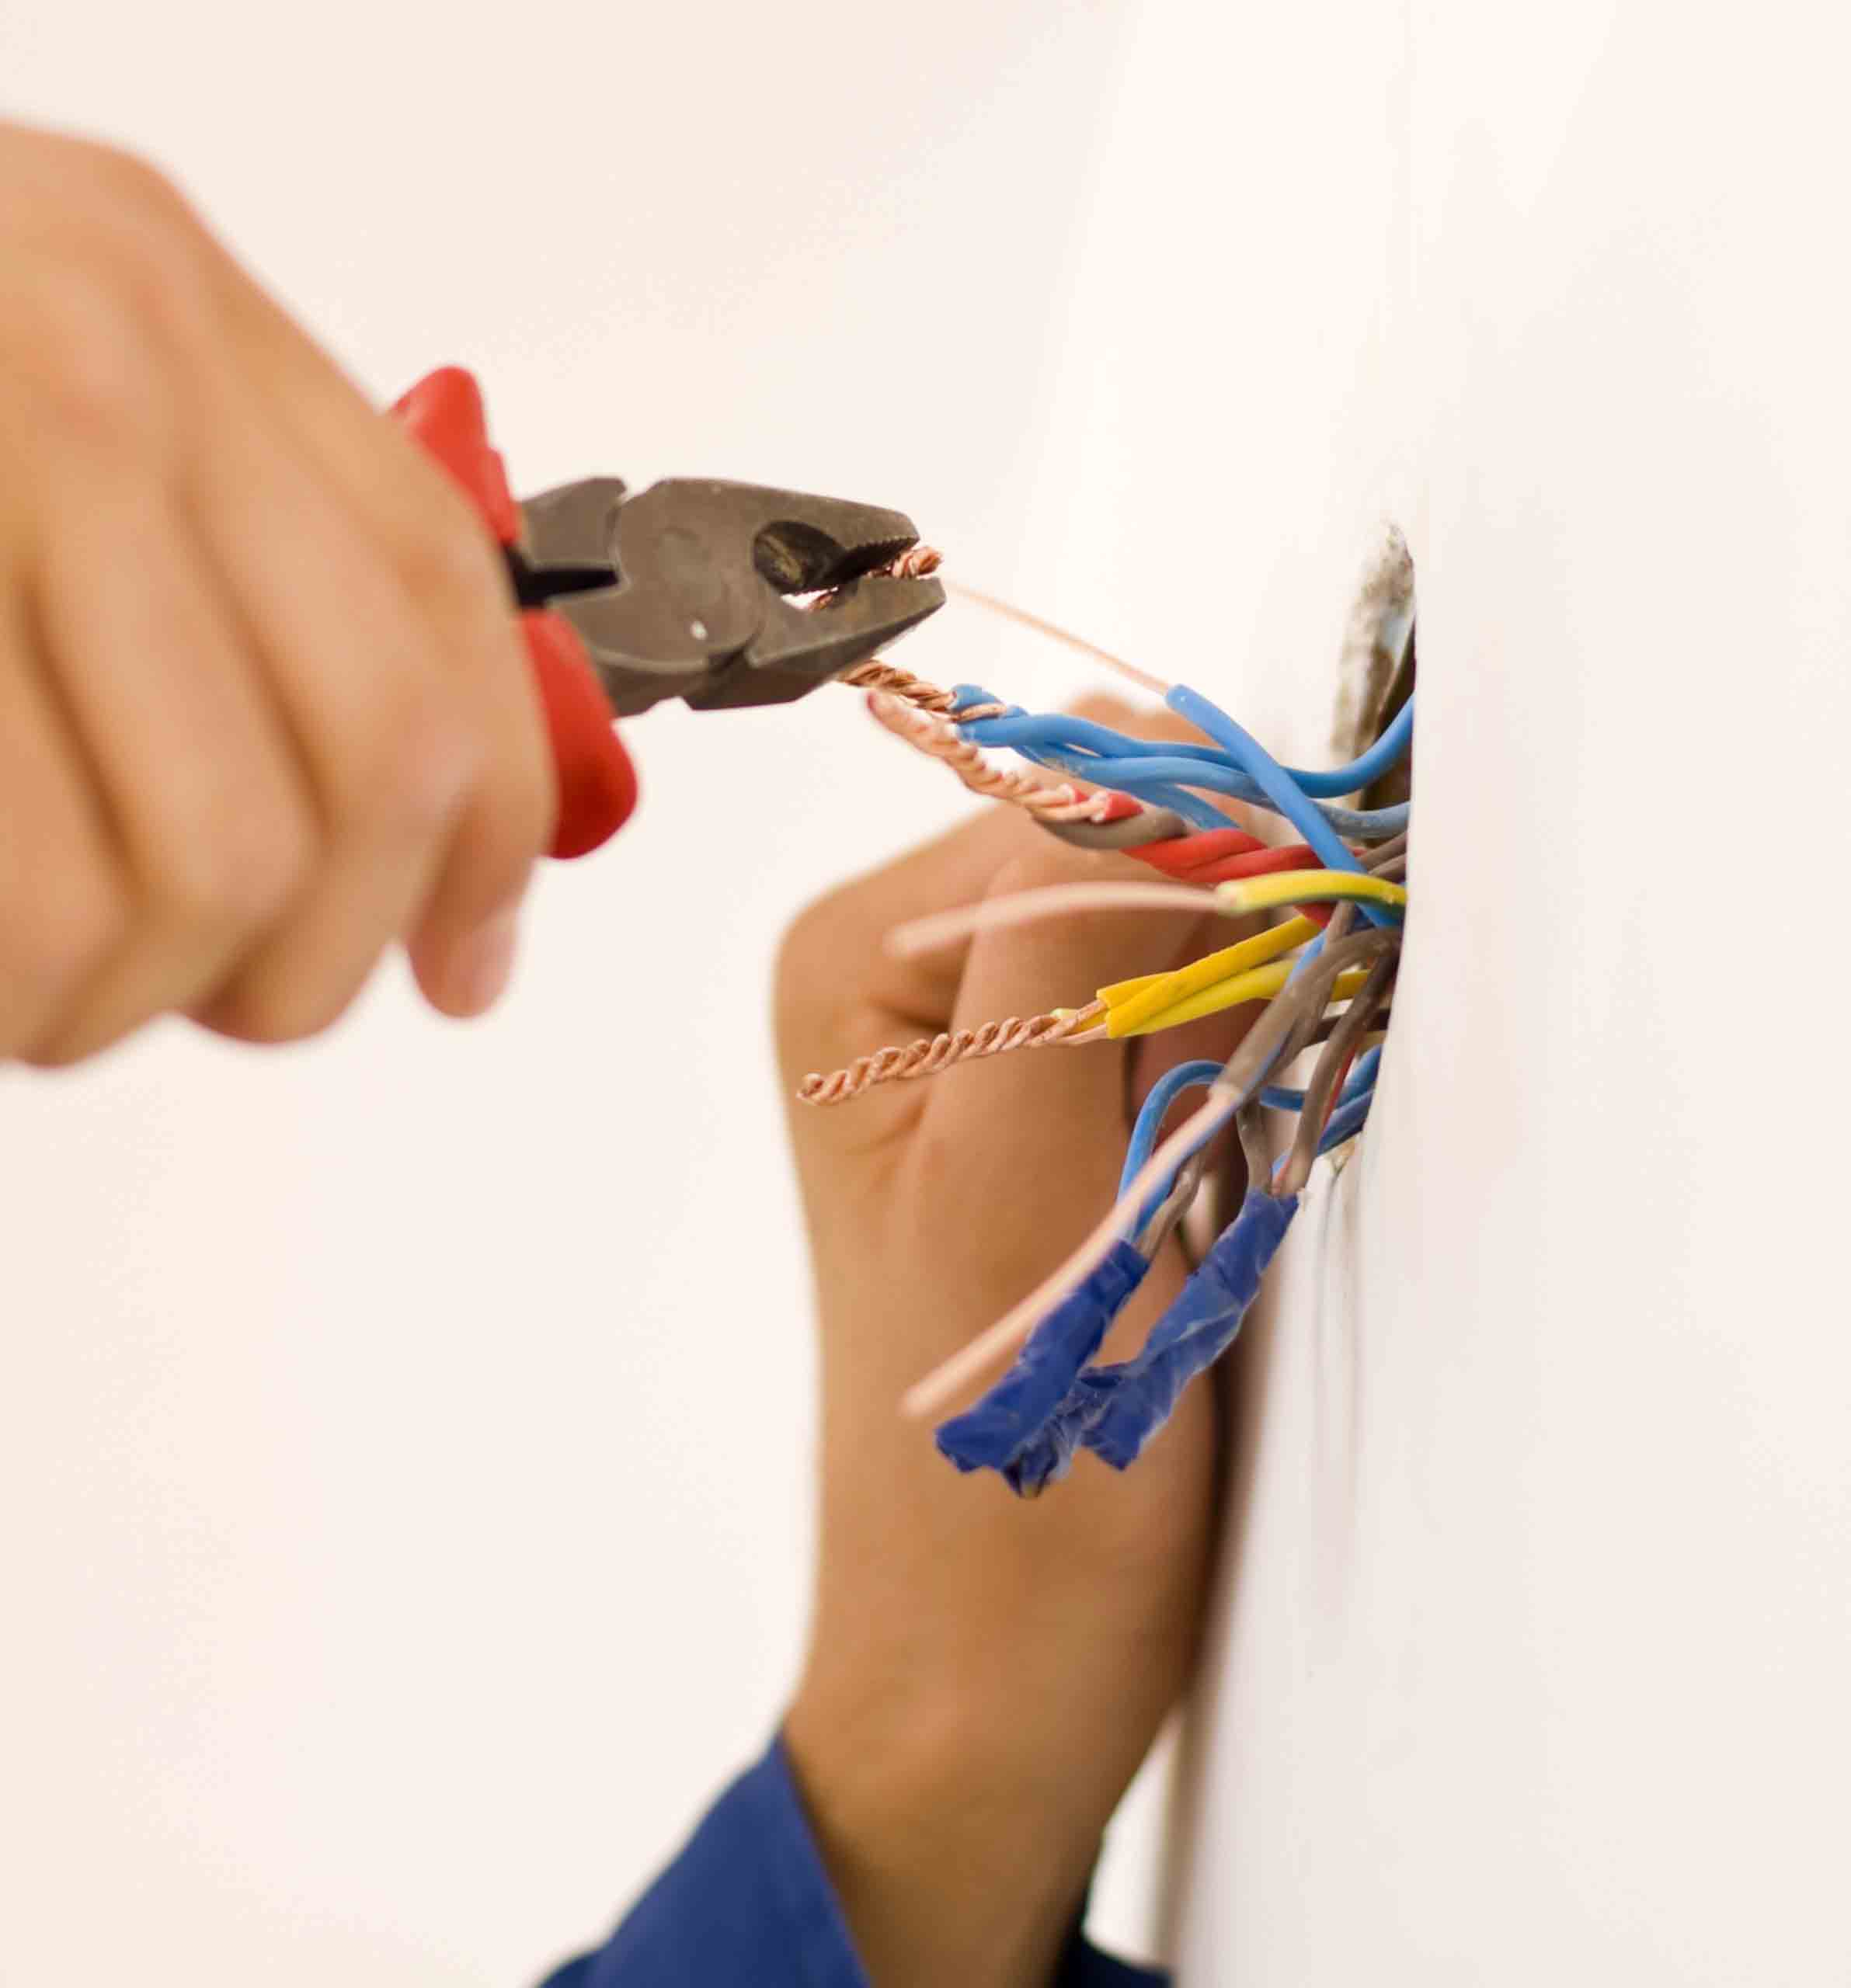
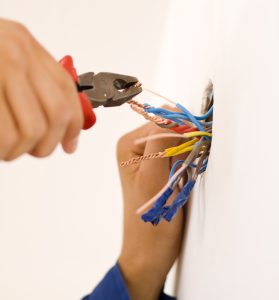
6. Frayed Wires

This one seems obvious, but some are guilty of ignoring a frayed wire if it’s still providing electricity or if it’s in an area of the home you don’t often use — for example, your storage room or an attic. Fraying can occur from excessive use, something,  like furniture, rubbing against the cord, or damage from an animal chewing on it like your dog or a wild mouse in the house! A frayed wire exposes anything it touches to metal and electricity and is not safe. 

Poor Electrical Work is Often To Blame

Here’s the thing: electricity always wants to find the easy way out. It will inevitably follow the path of least resistance. If the insulation to a wire is faulty or a part of a bare wire mysteriously becomes exposed, allowing it to touch anything conductive (metal light switch housing, nails, or screws, etc.), the electricity will take that shorter path. This could result in anything from minor annoyances like tripped breakers or GFCI switches to more significant issues like electrical shocks, overheated wiring, and, in the worst-case scenario, a house fire. 

Some of the most likely symptoms of bad wiring jobs include issues like damaged insulation from improper installation (bare wire exposed, nicks in the insulation elsewhere), nail or screw punctures, and, most often, loose or improperly secured connections.

We all want to save some money, but hiring an unlicensed electrician or general “handyman” to do electrical work in your home could leave you in the dark — or worse. Sure, the price may be right, at first, but the risks are far too great. 

If you’ve had work done by an unlicensed electrician or handyman and you are experiencing these “bad wiring blues,” SWFL Electric can help. Contact us today for any of your electrical needs.

Contact Us

8 Outdoor Electrical Safety Tips

Local fire departments responded to an estimated average of 44,880 home fires involving electrical failure or malfunction each year in 2012-2016, according to the NFPA. And let’s not forget about electrocution. 

Some folks focus so heavily on electrical safety tips for the inside of their home, they forget about the outside! Yet, your landscape can pose its own unique set of risks if not properly managed.

Here are eight tips for improving the electrical safety of your front and backyard:

1. Routinely inspect your outdoor power equipment. 

When it comes to caring for your property, you likely use a few pieces of electrical equipment: mowers, weed whackers, chainsaws, generators, etc. 

While your lawn mower doesn’t have cord, some tools like hedge trimmers or edgers do. Before plugging in these devices, always look for damage to cords, plugs, and wiring to prevent sparks from flying. This type of wear can occur naturally with age, from rodent or pest damage, moisture, etc., so be sure to check your equipment’s condition before each use.

2. Improve your electrical equipment storage.

Look for more than just cord damage if you store power equipment in a shed vs. a garage, which is more susceptible to intrusion from Mother Nature. 

  • Watch out for moisture. Inspect your entire structure for signs of water damage, like warped flooring, dripping ceilings, or moisture build-up, etc. which could render your tools useless or increase risk of electrocution or fire next time you try to start them.
  • Beware the heat. Always read the storage safety measures on your landscape equipment. Living in Florida, you know how high the heat index can get. Some power equipment may be better suited for storage in a temperature-controlled environment to avoid overheating risks.
  • Unplug your devices when storing. Be sure any unused battery chargers are unplugged and stored properly. Same goes for really any item you won’t be immediately using!

3. Never leave power equipment unattended.

You know to keep chainsaws with sharp blades out of reach of children, but don’t forget to consider equipment that could cause electrical problems if overheated or excessively operated. 

That portable generator your teens plugged in out back to power their electronics could cause an outdoor fire if left unattended and running for hours on end. Or that portable fan that’s not rated for outdoor use could have electrical issues if left outside and on in the rain. If not present, power down and unplug.

4. Check that you have GFCI outlets outside.

Do you know the difference between a GFCI and grounded outlet? You can tell a GFCI receptacle apart from a regular, unprotected receptacle by looking for the two red and black “Reset” and “Test” buttons in the center of the outlet. If you break the circuit, these buttons can be pressed in to reset the power to the outlet, without having to worry about going to a breaker to do so. 

outlet examples - 8 Outdoor Electrical Safety Tips

This extra safety feature is perfect for high-risk moisture environments, and is why The National Electric Code requires GFCIs in bathrooms, garages, kitchens and outdoor outlets. Double check that all our outdoor outlets have a GFCI setup, as some older homes may not. 

5. Inspect your outdoor outlets.

Walk around your property and take a hard look at your outlets.

  • Look for visible and functional damage. Replace any broken or missing face plates and plug in cords to ensure no plugs are falling out of loose outlets. If you notice any visible wires or falling-out-prongs, it might be time to call an electrician for an outlet replacement.
  • Test your outdoor outlets. Even if you don’t see visible issues, when was the last time you tested your outdoor outlets (if ever)? Test your outlets with a voltage tester or hire a professional electrician to check them. If you find any outdoor outlets not working, here’s our article on troubleshooting faulty outlets.

6. Understand how to properly use extension cords outside.

Extension cords are never meant to be used as a permanent solution, so if you have items permanently plugged in using these cords outside, that could be an electrician safety issue. 

  • Exhibit caution, even with “for outdoor use” ratings. Even cords rated specifically “for outdoor use” are only meant to be plugged in while performing a task or while you are within reach of the cord. If you have string lights on an extension cord setup, for instance, only plug them in while lounging on your lanai.
  • Don’t forget to inspect It’s important to routinely examine your outdoor rated extension cords just like you would your electrical equipment cords. Check for damage before use and keep away from water. 

Check out more extension cord “dos and don’ts” here.

7. Perform regular property clean-sweeps.

Electric fires grow when there’s something around to feed the flames. Because of this, maintaining your property is a great way to avoid the start or spread. 

  • Keep outlets clear and clean. Be sure to sweep dry leaves or debris away from your outdoor outlets, power cords, lighting, etc. to avoid this risk.
  • Watch out when trimming. When doing routine tree or bush pruning on a ladder, watch out for overhead power lines.

8. Think before doing outdoor construction or renovations. 

We understand that you may have a big vision for transforming your front or backyard, but be cautious when it comes to breaking ground or making major changes to your outdoor property. 

While planting a new tree or installing outdoor landscaping or hardscaping may seem harmless, it’s always best to remember to “Call Before You Dig.” Simply dial 811 before you start and the utilities company will come and mark where any underground lines are so you can avoid bursting pipes or damage to your house’s plumbing systems. This is also crucial to consider for backup generators with fuel tanks underground. 

This same applies to additions to your garage, installing a lanai, etc. Always consult an electrician beforehand to ensure you’re meeting all safety requirements. 

More Electrical Safety Improvements 

We hope that these outdoor electrical safety tips have inspired you to make some improvements to your landscape.

Looking to ditch the extension cords and install new outdoor outlets? Or maybe you are ready to install some landscape lighting? 

We’ve got your covered, and are here to help with whatever other electrical installation or updates you need for your outdoor space. Explore our Residential Electrical Services here.

Got it all covered yourself? Great. Continue your safety improvements inside by downloading our free Homeowner’s Easy Electrical Maintenance Toolkit

Fort Myers Electrician Pricing

3 Signs It’s Time for an Electrical Ballast Replacement

Are your fluorescent bulbs on the fritz? If you’ve recently been hearing a strange, loud buzzing sound every time you flick on the lights, or are experiencing inconsistent lighting levels, there’s a chance the bulbs themselves aren’t to blame.

Many large corporate lighting panels or office lamps operate with a little help from an electrical ballast. This device regulates the distribution of energy across your lighting fixture, working with a load to limit the amount of current in an electrical circuit.

That means that when your ballast starts to go, your lights have nothing to regulate the current that travels through your bulb’s tube. Eventually, when you flip the lights on, your bulbs will overload and fry!

But if you catch a faulty ballast before it’s too late, you can save yourself the hassle of purchasing all new bulbs. Here are a few signs that your ballast might need replacing:

1. Know if your light even requires a ballast.

This is a great place to start your troubleshooting journey. Not all lights require a ballast to function, so make sure this is your problem. 

Incandescent and halogen bulbs, for instance, aren’t ballast-dependent— and LED bulbs don’t require one either.

Then there are the light bulbs that have a ballast integrated inside, which can’t be replaced separately.

Many fluorescent bulbs, for example, have an internal ballast. Compact fluorescent bulbs (CFLs) often have one integrated too— just like some HID lights often do— but not always. 

Single bulbs with an integrated ballast need to be replaced just like any other bulb when they die or act faulty (you’re not going to tear apart the bulb itself to replace an internal mechanism). However, larger light fixtures may operate with the help of an external ballast.

Commonly, the long strips of T12 or T8 fluorescent lights on your business’s ceiling have one shared electronic ballast, which can be replaced without necessarily needing to swap out the light strips (if you catch the problem before the ballast dies and burns out the bulbs, of course).

Some older parking lot high-intensity discharge (HID) lights also use a ballast, though many modern fixtures use high-efficiency LEDs now instead. 

2. Look for warning signs that the ballast is failing.

After you’re sure you have a ballast, it’s time to investigate.

Typically, if just one CFL bulb is out, try replacing the tube. If you notice that any of these signs affect an entire section of lighting, it might be time to test your ballast:

Buzzing

If you hear a strange sound coming from your bulbs or light fixture, like a buzzing or humming noise, that’s often a sign your ballast is going.  It’s struggling to maintain the current and causing audible voltage regulation problems.

Dimming or flickering

If your bulbs are very slow to reach full brightness or strobe periodically, there may be a problem beyond the bulb. Water-damaged or faulty ballasts often struggle to regulate current. 

No lights at all 

If your bulbs won’t turn on, there’s a fat chance they all went at once from natural causes. Your faulty ballast might have burned them all out!

Changing colors 

Your lights should consistently shine at the same brightness and hue. If you notice a variance in color, your ballast might be on the fritz and surging sporadic voltage levels to your bulbs.

3. Check the ballast itself. 

Oftentimes if your ballast is slowly huffing or completely shot, it’ll be very obvious. Be sure to turn off your fixture’s circuit breaker in your electrical panel before tinkering. Remove the cover over your light and the bulbs themselves before examining your ballast for:

Swollen casing 

This is something you’ll see before you even take the casing cover off. If the plastic is bulging, your ballast is a goner. Very likely, energy overloaded it and damaged the box.

Burn marks. 

Sometimes you have to crack the ballast open to see internal damage. If you see burn marks inside the device or on wires, replace it. It couldn’t handle the current and overloaded. If this is the case, you may need to replace your bulbs too.

Water damage

Is there moisture inside of your panel or the ballast? This is probably what fried the device.

Leaking oil

If you have an older magnetic coil ballast, it could be leaking oil and malfunction. Carefully clean the area before replacing it. 

Professional Ballast Testing & Replacement

Still stumped?

Instead of standing on a ladder and poking around live wires, give the SWFL Electric team a call. We’d be happy to test your ballast and get you a speedy replacement.

Message or call us at (239) 935-5892.

No Power to an Outlet? Here’s How to Troubleshoot

Having trouble with an outlet in your home? If anytime you plug something in it’s falling out of the outlet, or if your outlet just won’t work, you’re in the right place.

In this post, we’re troubleshooting bad outlets. Before you start removing the receptacle from the wall or tinkering with wires, let’s narrow down the problem.

Try a Different Electronic

Upon finding this article, you probably already determined that the appliance wasn’t at fault. But in case you haven’t already, be sure to check that your electronic item itself isn’t dead before proceeding.

Check Other Outlets

Is just one outlet being finicky or is it actually all the outlets on one wall, or in one room? This is a great first step: testing your other outlets.

Try plugging different things in, such as appliances with smaller voltage than the item that currently won’t turn on. Perhaps you’re overloading and tripped your circuit panel (which we’ll get to here soon). 

Once you determined which outlets aren’t working with your appliances, try using a voltage tester to see if any juice is going to the receptacle. Note the outlets without any power going to them and unplug your appliances in the room before heading over to your breaker box.

Reset Your GFCIs

If you have a GFCI outlet, this type of receptacle can be reset right from the outlet itself. If upon pressing the “test” button on the receptacle, it doesn’t pop back out, you might not have power to the GFCI. Or, the outlet could need to be replaced. 

Peek in Your Breaker Panel

This is usually the best place to uncover what’s wrong with your outlet. You may have either tripped the circuit breaker or blew a fuse in the box. 

If after flipping a switch, it clicks back into tripped position, there might be an issue with your wiring (or you missed our instructions above to unplug devices from your outlets in that room and are still overloading on your voltage limit). 

If a blown fuse is the culprit, unscrew it and replace it with one of the same amperage. 

A loose wire inside of your box or an outdated electrical panel could very well be your holdup, which would require the help of an electrician to troubleshoot; however, we have one more thing you can check before calling for professional assistance.

Unscrew the Receptacle to Check for a Loose Connection

Sometimes, the problem really is your outlet itself. The only way you’ll know is to unscrew the receptacle from your wall and do some investigating.

Once out of the wall, look for loose terminal screws or wires. Even if they don’t seem loose, give the wires a soft tug from their connectors just to double check. Be alert for burnt or corroded wires as well, or damage to your insulation. Here are some tips for spotting bad wiring

If even after removing the outlet from the wall you don’t see anything amiss, it’s time to tag in an expert. 

Know When to Call the Professionals

A trained electrician is most qualified to assess your outlet troubles and get your power working strong.

Our team at SWFL Electric can even offer recommendations for relocating your outlets for better performance and how to childproof your outlets to ensure they are tamper-resistant. 

Contact us online or give us a call at 239-307-0716 and we’ll check out your situation right away. 


New call-to-action

8 Reasons it’s Probably Time to Install a New Electrical Panel

Most of us only think about our electrical panel when we need to reset a circuit breaker. Other than that, you probably forget it even exists. 

But like everything, electrical panels have a lifespan— and eventually, need to be replaced. Age isn’t the only reason a panel may need an update; in fact, there are a handful of factors besides wear-and-tear that would merit a fresh install. 

Here are eight reasons it’s probably time you replaced your electrical panel:

1. You’re having issues with your circuit breaker.

This is where many home or business owners start: with obvious electrical problems.

Do any of these scenarios apply to you?

  • You’re resetting circuit breakers all the time. If you find yourself in the dark every time you pick up your hairdryer, it’s a sign that your electrical panel is not sufficient for your needs.
  • Your breakers won’t stay reset. You overloaded the circuit, tripped the breaker, and now you have to reset it. But if you flip the switch and the power still doesn’t come back on, that’s a sign that your electrical panel is faulty. (Check out these tips for troubleshooting the trip).
  • You actually have fuses, not breakers. Fuses perform the same function as breakers, they’re just older and less convenient. But heading down to the hardware store every time you blow a fuse is a pain. Plus, in an emergency situation, like a hurricane or other severe weather event, it’s often not an option— leaving you without electricity when you need it most.

2. Your current panel is more than 20 years old.

Older electrical panels were not designed to serve our growing technological needs and like everything, have a lifespan. Not only might your aged panel be unable to power your wide range of high-wattage TVs, computers, etc., but panels installed before 2000 likely don’t meet updated safety standards.

If your home is 25 years or older, be sure to check the age of your electrical panel. Any box older than 20 years should be replaced. Remember, it’s good to check on your panel at least once a year to catch any problems, regardless of how old it is.

3. You’re adjusting your electrical needs.

Anytime you add or replace electronic devices, it’s important to reassess your wattage requirements. Overloads can cause frequent breaker trips, and even damage or ruin your electronics.

If you’ve recently swapped out an old application for a new one or purchased a brand new device, be sure to check your updated energy usage. Larger appliances can eat up a huge portion of your allotted wattage, and adding something like a second refrigerator could push you over the threshold. Estimate your electronic usage with Energy.gov’s Energy Saver tool

4. You’re doing a home renovation.

Are you building a new room? Enlarging your kitchen? Adding outlets to your home office? All these new lights, appliances, ports can really add up. Even if you feel like your lifestyle won’t be terribly affected by the fresh addition or renovation, your electrical panel might— and different rooms on different circuits could overload your breakers.

If your panel is newer and has the necessary space for additional breakers, an electrician can help divide things up accordingly. But if it’s an older or smaller panel, a replacement may be in order to handle the extra load. 

5. You’re listing your home for sale.

If you’ve been putting up with an electrical panel that’s just okay, replacing it before you sell is one thing you can do to show off as a “recent upgrade.” This can help put buyers at ease, knowing it’s one less thing they have to worry about. Plus, the last thing you want is a brownout in the middle of an open house!

6. Your insurance requires it.

If you have a particularly old electrical panel, your insurance company may demand that you upgrade or pay an increased rate. Some insurance companies may even refuse to cover your home at all until your panel has been updated to one in accordance with modern safety regulations. This is especially true if you are still running on fuses. 

Given the information insurance companies have about electrical fires and other incidents, they know the safety concerns better than anyone! If your insurance company is concerned about your electrical panel, it’s time for a change.

7. You’re experiencing performance issues.

If you’re noticing flickering or dysfunctioning lights or have appliances that aren’t operating at full power, your electric panel may be the cause— but not always. It could also be faulty devices or outlets, bad wiring, or poor-efficiency (only to be revealed in the form of a high electric bill!). 

Be sure to investigate or bring in a professional to access the issue. Here are a few examples of when it’s best to call an electrician.

8. You’re concerned about your overall safety.

If you open up your electrical panel and smell something burning or see corroded wires, this is not something to neglect! Be sure to also look out for moisture inside the panel or obviously damaged wires. 

Electric issues inside your box can cause fires that destroy entire homes and businesses— and put your loved ones and staff at fatal risk. Should you see something suspicious in your panel, dial-up an electrician right away. 

Time for a New Electrical Panel?

Electrical issues are nothing to be ignored and can be a serious threat to your family or staff.  Get to know your panel by learning more about circuit breakers on our blog. 

Should you suspect it’s time for an upgrade, don’t hesitate to reach out. We’re here to get the job done right— the first time— saving you time and money.

Check out our Electrical Panel Services page and fill out our form to request installation, service, or replacement today. Or, give us a call at (239) 935-5892.

The Do’s and Don’ts of DIY Electrical Projects

When you own a home, there are many times when doing the job yourself can save you some money instead of hiring the project out. That said, it’s important to remember that you don’t want to do a job bigger than you can handle.

AdobeStock_112880099.jpeg

When looking at electrical projects, some of the things you can do yourself include the following:

  • Change a light fixture
  • Replace a wall outlet
  • Replace a switch
  • Rewire a lamp
  • Attache an appliance cord

However, even these things need a little bit of knowledge to accomplish, so make sure you do the proper research before starting your project.

There are jobs you absolutely should not attempt, but rather find a professionally trained electrician to do. These are:

  • Rewiring jobs
  • Wiring room additions on your home
  • Wiring breaker boxes

If you are embarking on a DIY Electrical Project, here are some do’s and don’ts you’ll want to consider.

Do: Use Proper Tools

For example, you want to use wire strippers to cut electrical wires. Any other tool might damage the wires, and be a hazard to your fingers. Having a flashlight handy is always a good idea, especially if you are in an area where natural light does not reach.

Don’t: Rush the Job

Make sure you have plenty of time to complete your task. Even when changing a light fixture, you may run into an unforeseen issue. Once replaced, if a light fixture is on a switch, that switch may not work after it is turned back on. Make sure you have researched your project fully to know what you should do if this problem arises.

Do: Test All Switches Before You Start

Make sure you know and label what all switches are for. Test them again with a multimeter after you’ve cut the power to make absolutely sure they have no electricity flowing to them. You do not want to start work and receive any kind of shocks!

Don’t: Trust Breaker Box Labels

Even though your breaker box is labeled with rooms, it may be different than what you would consider that room to be. If you did not build your home, or put on your own breaker box labels, you need to test all circuits before you start work. You  may flip a switch for an area labeled as “office” only to find out that the are you think is an office was originally a dining room and was labeled as such. Checking and double checking that power is cut is the first rule of electric work.

Do: Know When You’re In Over Your Head

If you get into any kind of DIY electrical project and run into problems you aren’t prepared for, it is better to call an electrician than to risk making a small project a large problem. Not just for the wellbeing of your electrical system, but for your physical safety as well!

Southwest Florida Electric has a team of experienced electricians who are ready to ensure your home’s electric projects are done properly and carefully. Anytime you need a professional, reach out to our helpful customer service professionals who can provide you with a highly trained electrician for your home project.

Fort Myers Electrician Pricing

Where Should You Place Electrical Outlets in Your New Home?

Compared to the various decisions that need to be made when building a new home, electrical outlet locations may be treated as a small (and possibly forgettable) detail. However, the detail won’t seem so small once you’re in your new home and realize the placement of your electrical outlets doesn’t work well with your furniture plan, or worse, there aren’t enough to meet your needs.

 This is why planning your electrical outlet locations should be a much higher priority during the building phase. In this guide, we’ll take the headache out of electrical outlet placement to ensure your home is well-wired when move-in day comes.

Bedrooms

It’s best to study the spaces that will eventually become bedrooms. Think about where you’ll place beds, dressers, and other furniture. Consider your typical habits in these rooms; this will help you place outlet locations to meet those needs.

For instance, will you need an outlet near the nightstand for phone charging, alarm clocks, or a small reading lamp? Will your bedroom have a television or computer and need more outlets in an area? What about a dimmer switch for a range of lighting? Consider all of your needs and preferred furniture placement and plan accordingly.

Kitchen

While the kitchen requires the most electrical power in one room, outlet planning for the kitchen is pretty straightforward. Decide where your major appliances (fridge, oven, dishwasher) will be located. These areas will have durable specialized outlets to handle the powerful appliances. In kitchens, all outlets that serve countertop surfaces should be equipped with GFCI outlet protection.

Next, consider your counter space and small appliances. Will you need outlets for a microwave oven, toaster, or coffee machine? Will these items need an outlet at all times, or would you rather store them and pull them out only when necessary? Consider all of your cooking needs and go from there.

Living Room 

Since the living room is where most families spend the bulk of their time and where most people host friends and family, it’s smart to be sure that there are ample outlets available. It is recommended to place an outlet in all four corners of the living room in addition to an outlet in the middle of each wall.

Follow those recommendations, and there will be plenty of power for entertainment centers, extra lighting, and places to connect devices. Additionally, if your family likes to decorate for holidays, consider your outlet needs. For example, Christmas tree placement might need an extra electrical outlet.

Bathroom

The bathroom is an easy room to overlook when planning outlet locations. However, it is highly beneficial to ensure ample coverage in this room, too. Consider your family’s needs when getting ready for the day; will you need an outlet for a blow dryer, electric toothbrush, or electric shaver?

While your expert electrician will ensure special GFI-rated outlets are used around water, it’s important to place these outlets in easily accessible areas so they won’t be dangerously crossing the sink or other water areas.


Garage

The garage is frequently forgotten when it comes to electrical planning. However, it may be beneficial to have several outlets if power tools will be used. If you plan on having a garage door opener, an outlet in the center of the ceiling will be necessary.

Home Office

The home office can be tricky when planning electrical outlet locations. Many homeowners place them along the walls for lighting and a desk that will sit against them. However, floor plugs may be beneficial in a home office. After all, not everyone wants their work desk against the wall, and floor plugs will allow easy access to power for computers and laptops.

Also, consider just how much power you’ll need. If you work at home as a writer, several outlets may be unnecessary in the space. If you work with demanding equipment like sewing machines, special lighting, cameras, or other equipment, plan for it.

Bonus Room

Another good space to consider is any kind of extra space or bonus room you may want. This is also a chance to plan for the future. Will this room turn into a bedroom for a new child down the road? What about for an aging relative?

Perhaps it will be a storage room with little need for several outlets, or perhaps it will become a media room with a high demand for outlets. Either way, decide what you will do with this room and plan accordingly, or for the possible future.

If you’re thinking about building a home or are currently in the process, our experienced professionals at Southwest Florida Electric would love to assist with electrical outlet planning to ensure your new home suits all of your needs. Contact us today, and we’ll help you get started.

 Fort Myers Electrician Pricing